[tutorial] open-slide Usage Tutorial
Note: This page is an AI-generated (gpt-5-mini-2025-08-07) translation from Traditional Chinese and may contain minor inaccuracies.
📌 Introduction
Use the open-slide skill to have AI quickly generate a presentation for you.
🚀 Hands-on
Init Demo Slide
1 | npx @open-slide/cli init my-demo-slide |
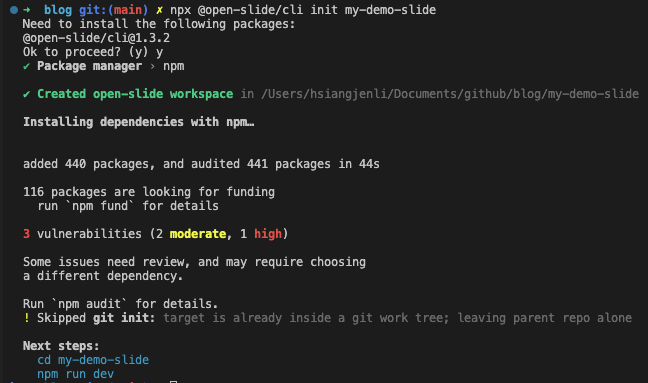
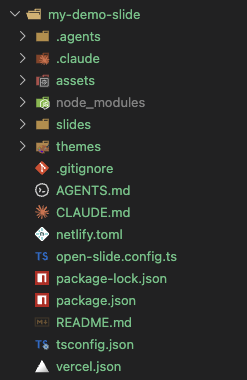
Generates a complete repo, including tools to start the presentation, Agent Skills, example slides, and more
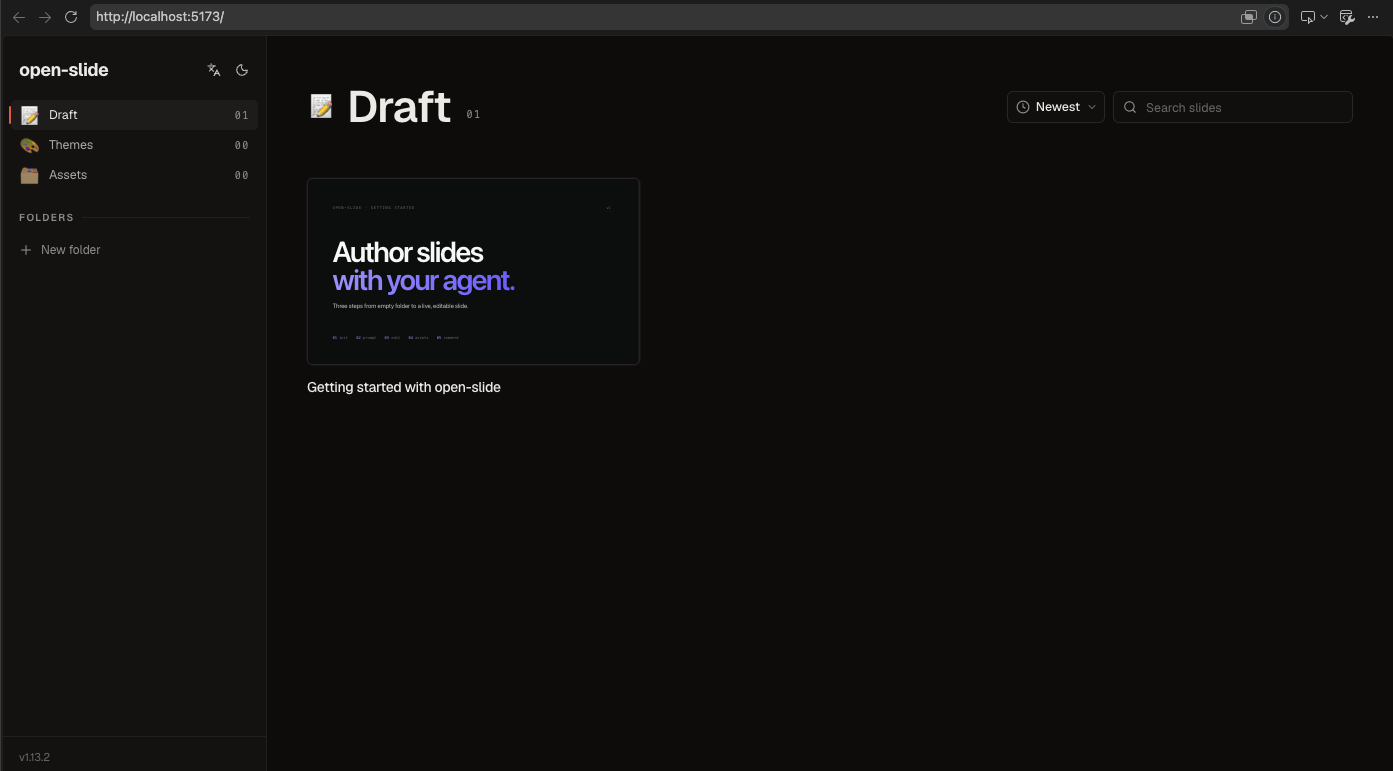
Start the presentation
1 | cd my-demo-slide |
Frequently used Skills
/create-slide: used to create or draft a slide deck/apply-comments: used to handle@slide-commenttags
Screenshots
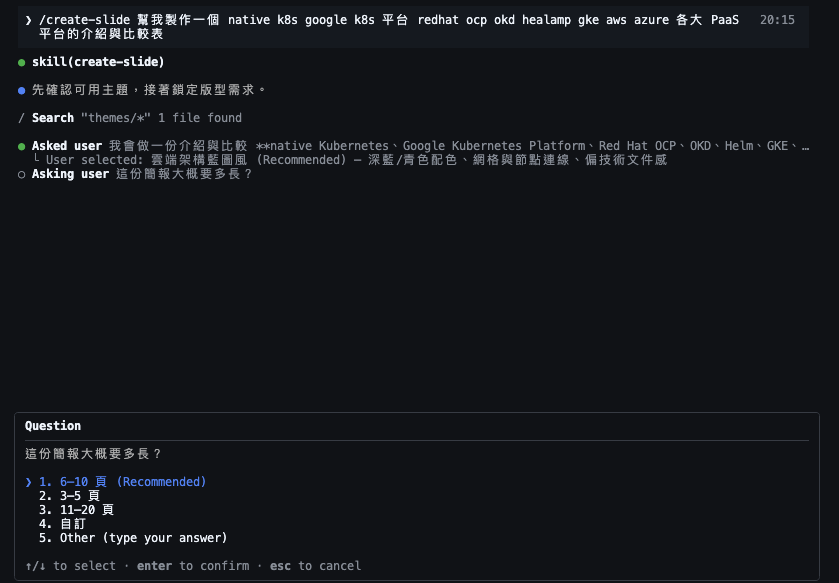
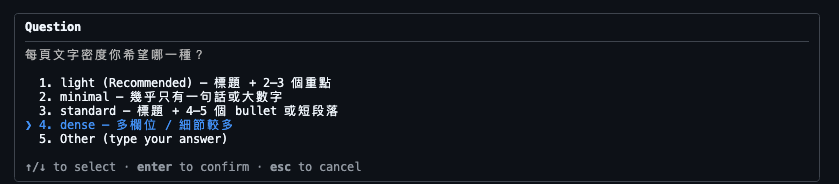
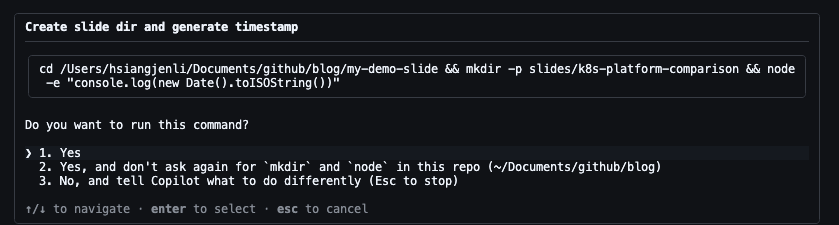
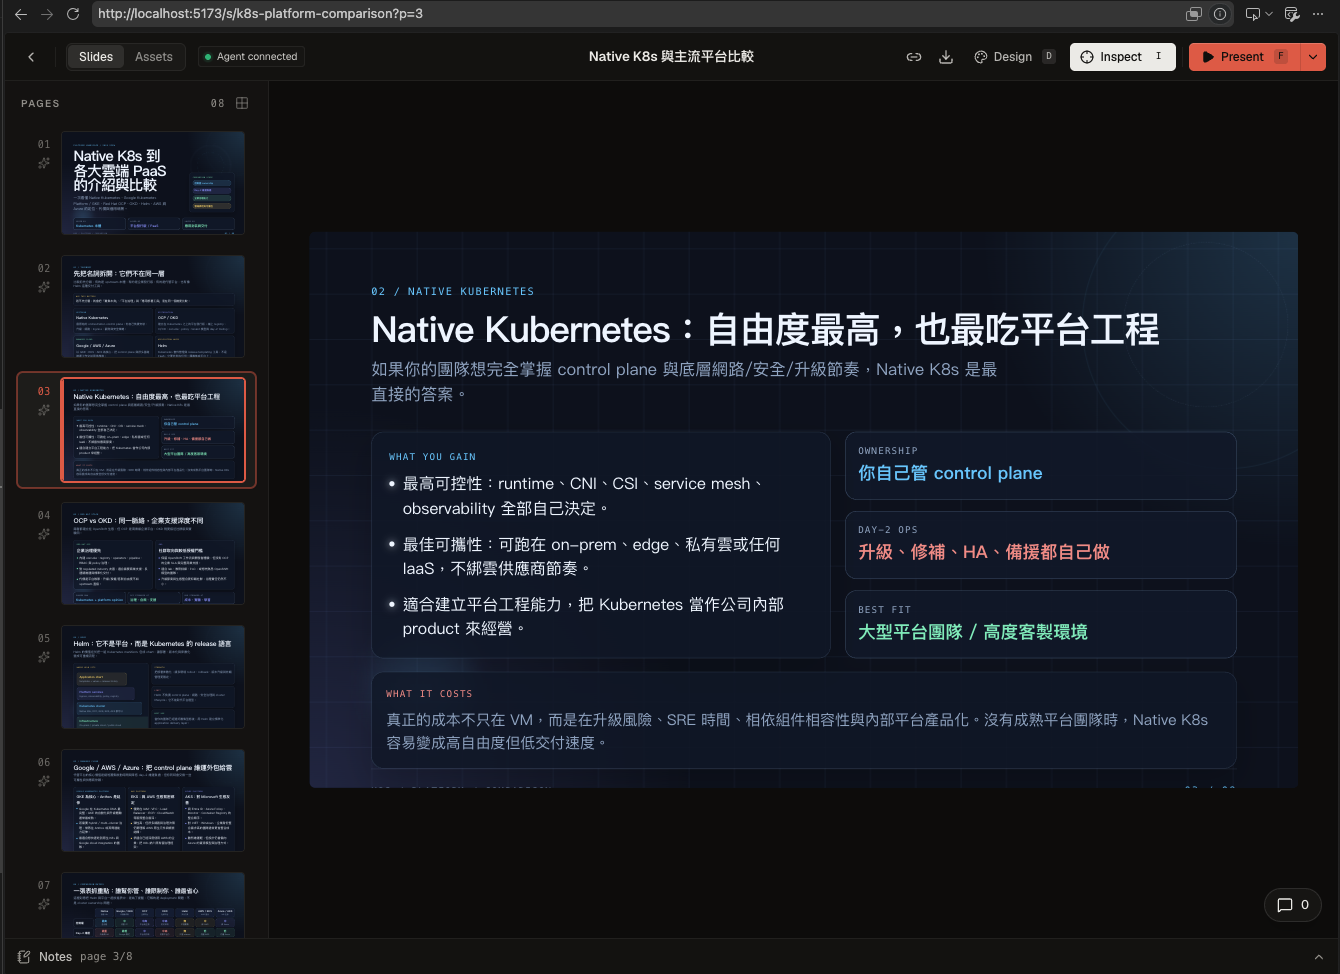
Using /create-slide to generate slides
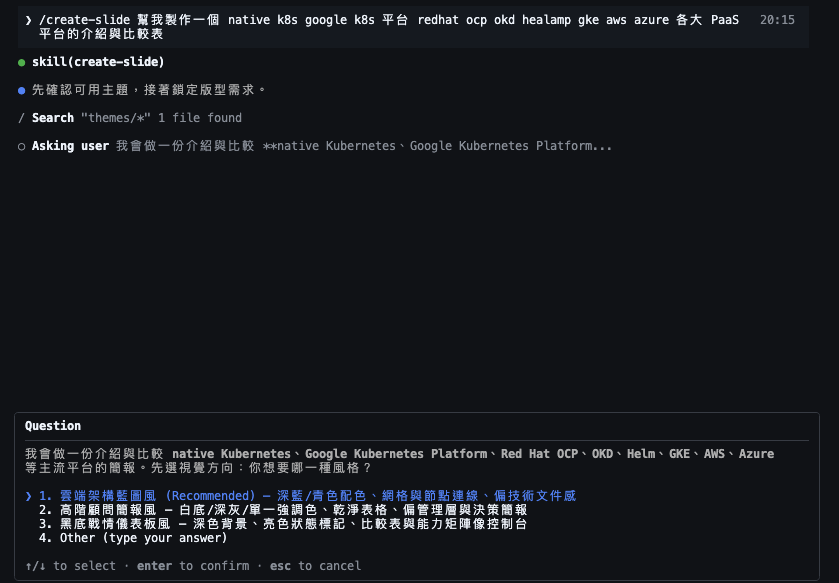
Requirements Q&A (style, page count, effects, etc.)

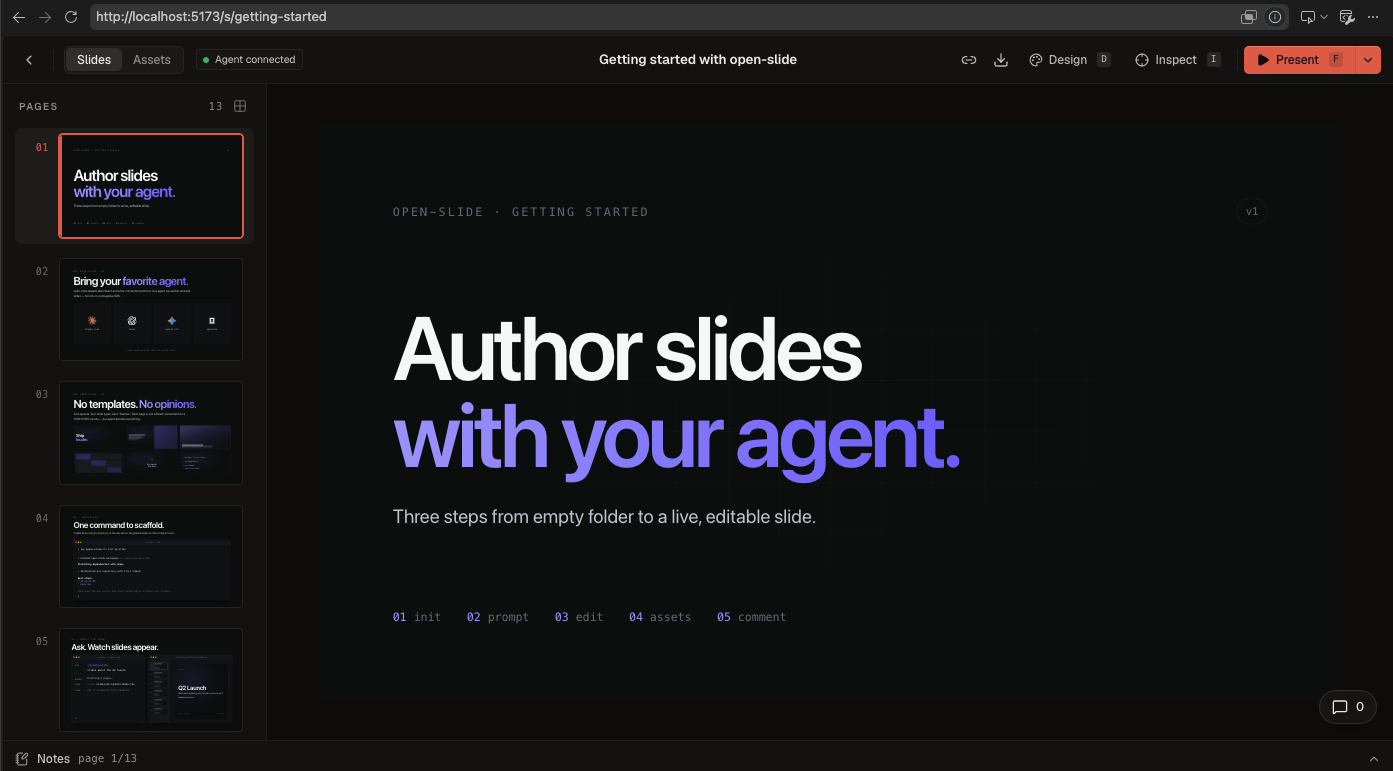
First version of the generated slides
Leaving comments on the slides
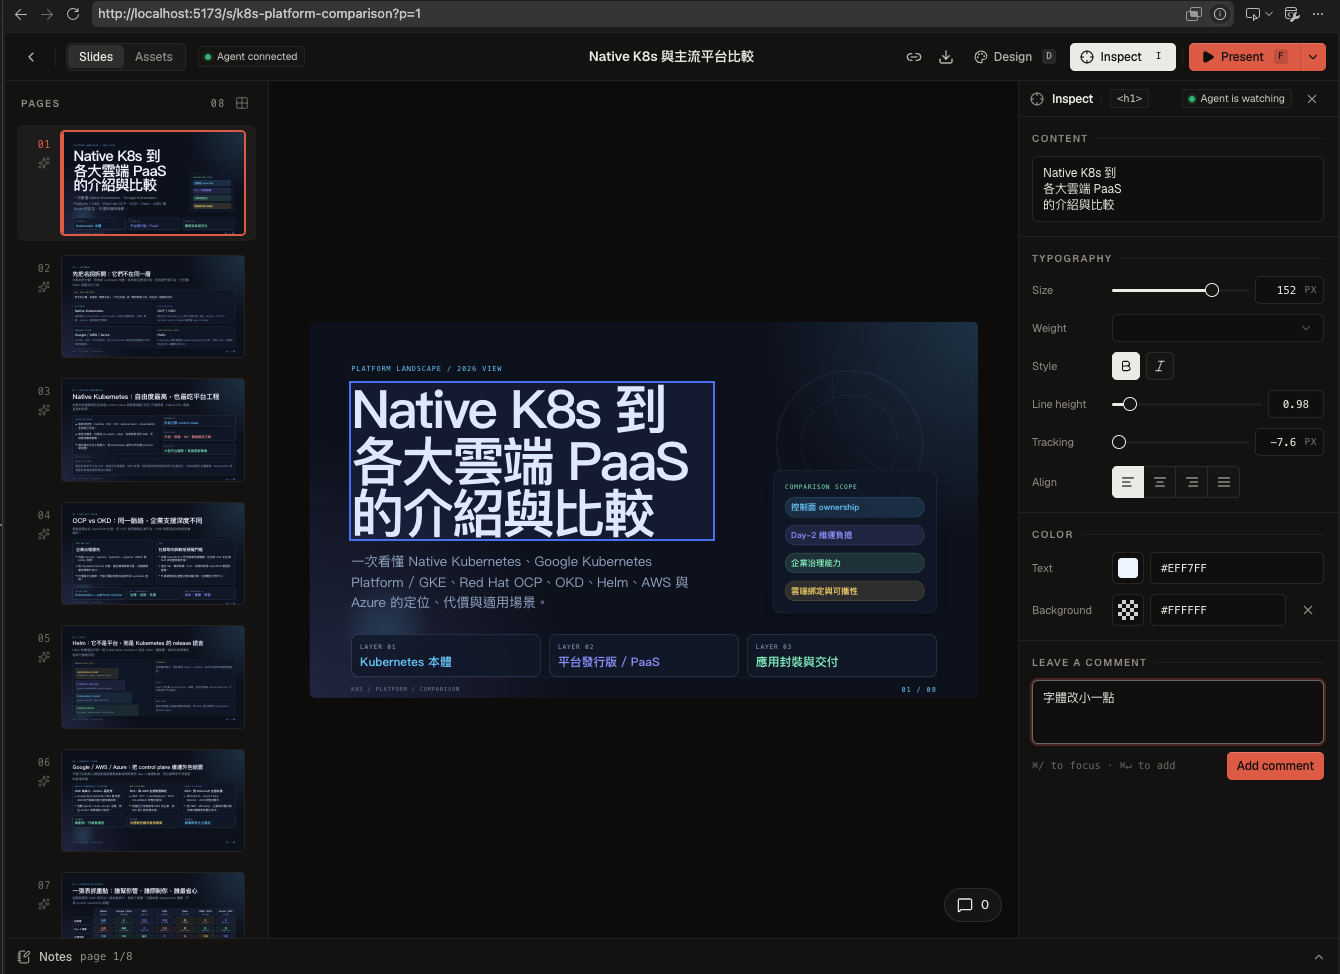
- Leave comments on the slides
- Run
/apply-commentsin the terminal to apply changes based on the comments
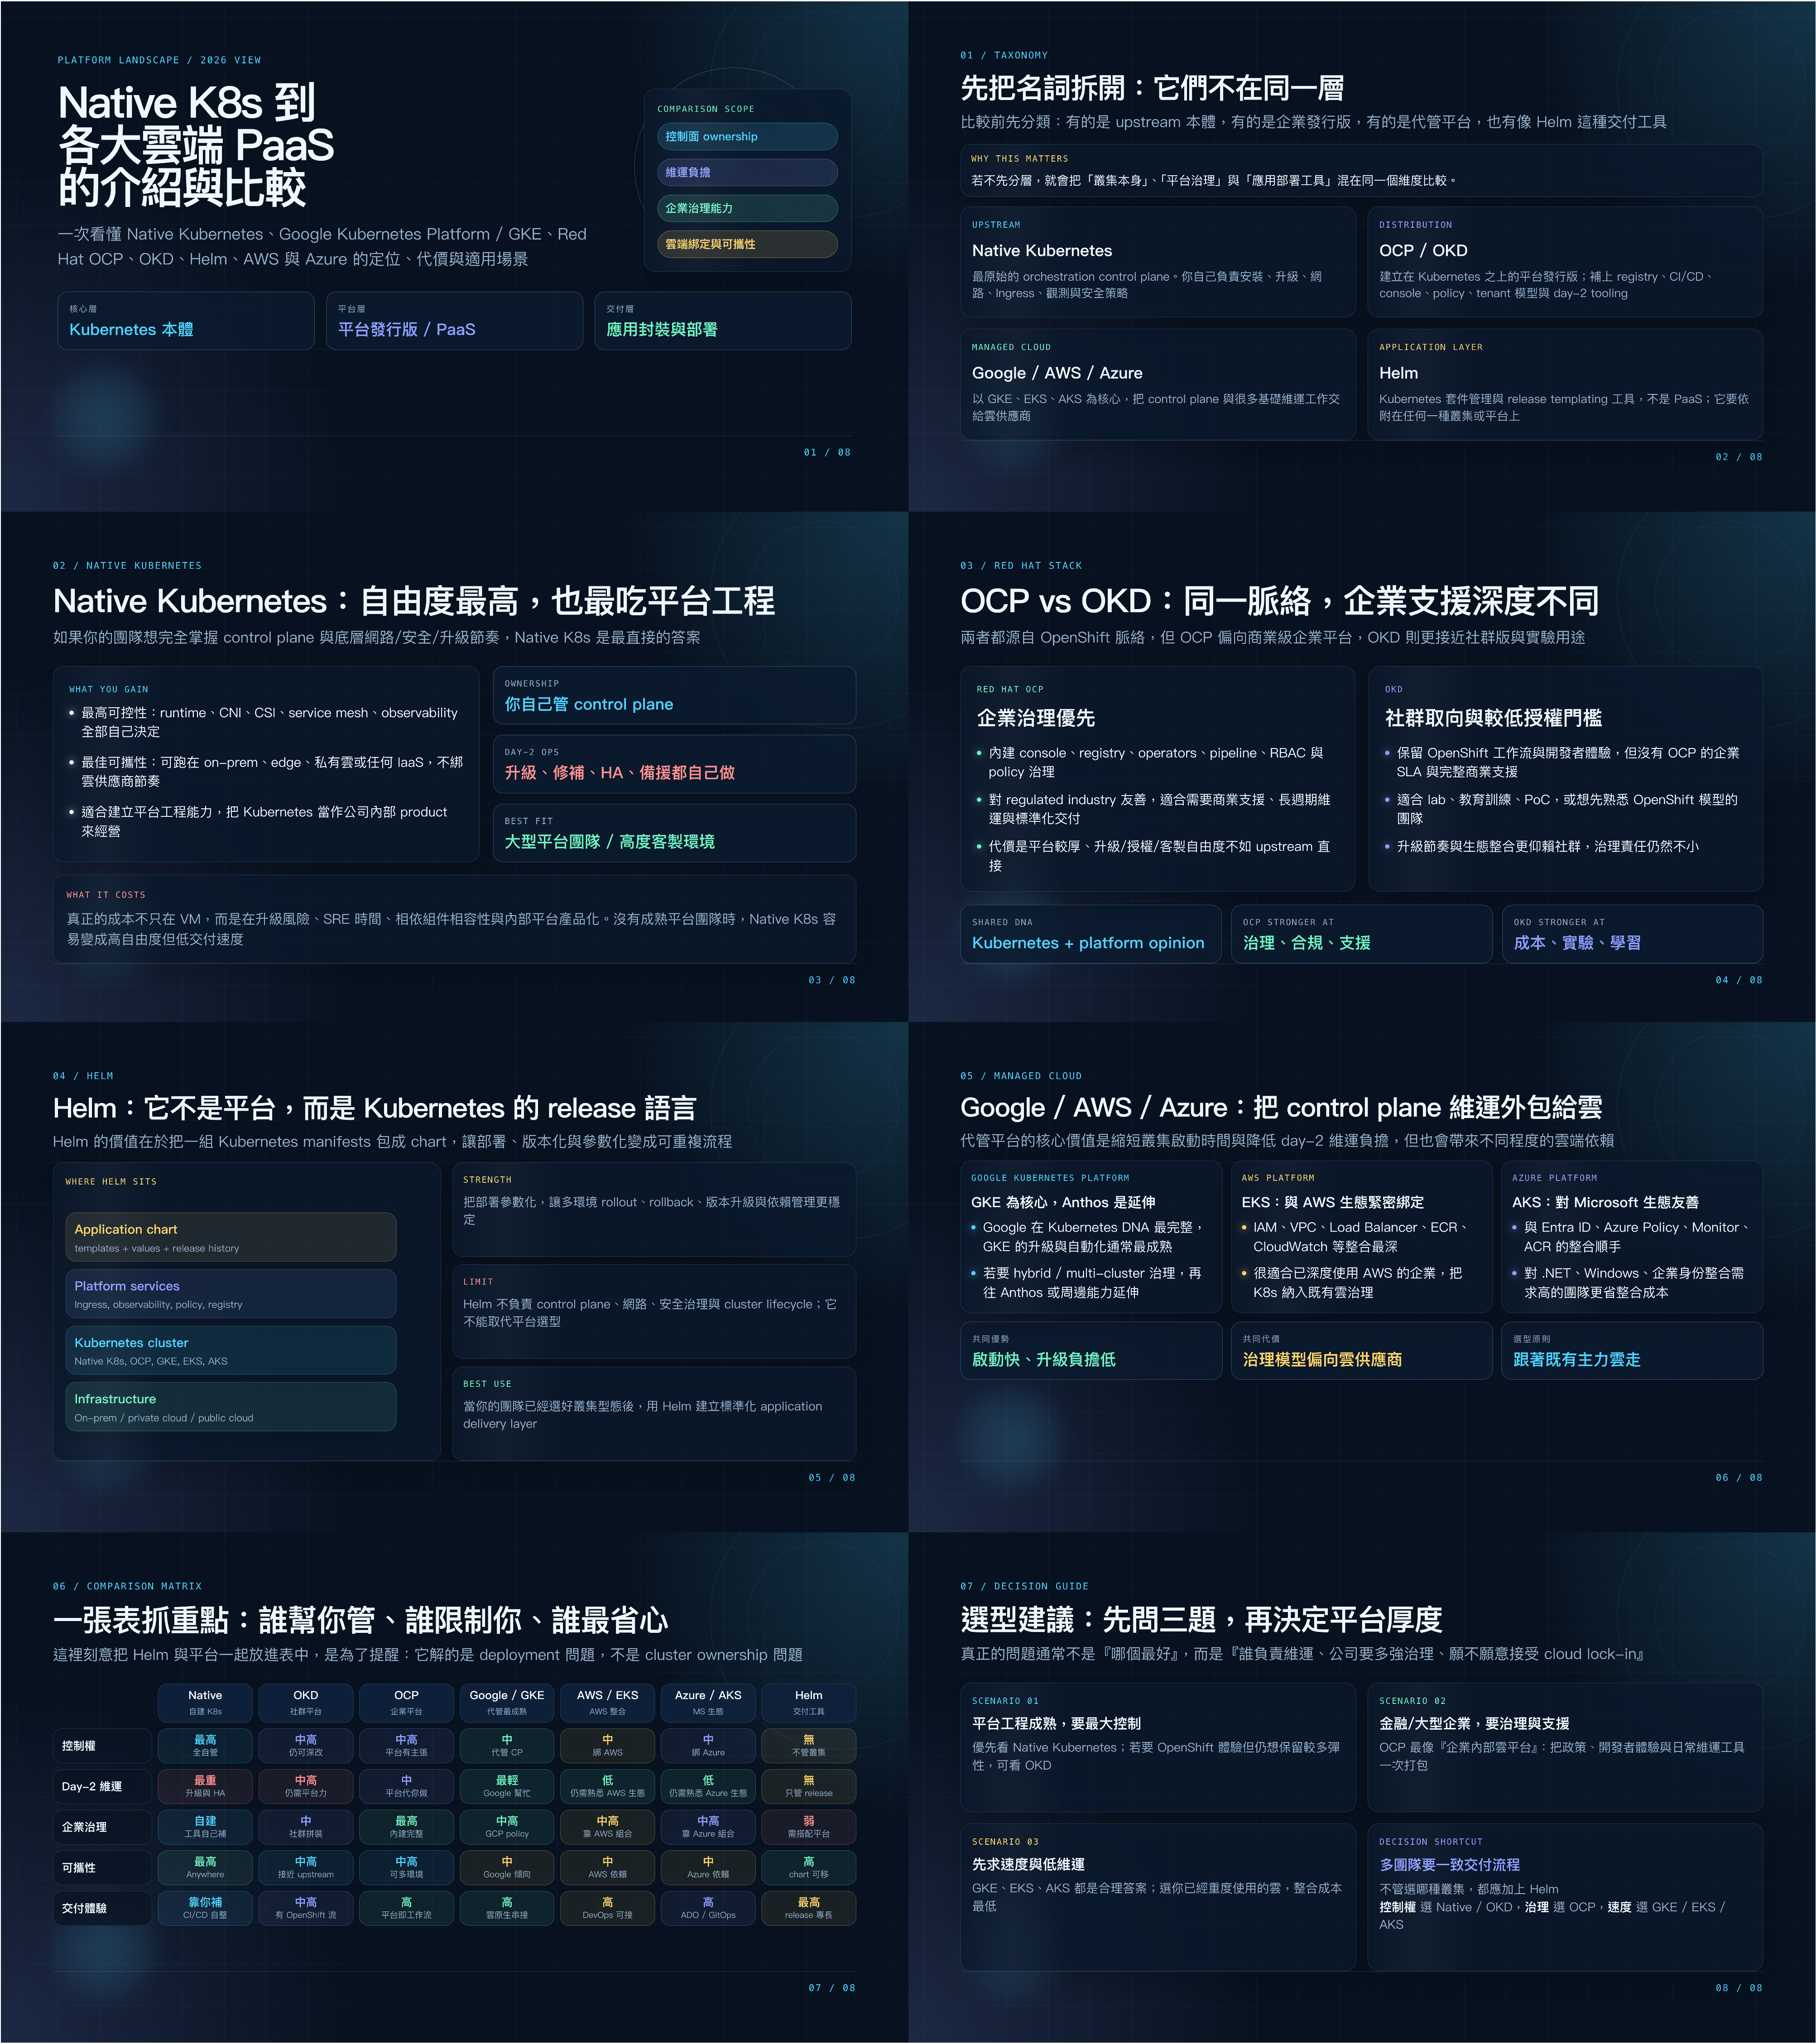
Second version of the generated slides
🔁 Key takeaways
- Use
npx @open-slide/cli init my-demo-slideto generate a complete slide project - Use
npm run devto start the presentation - Use
/create-slideto generate slides - Use
/apply-commentsto modify slides based on comments - Currently open-slide is still under development; it only supports exporting to PDF, HTML, and images
🔗 References
[tutorial] open-slide Usage Tutorial