[教學] GitHub + PicGo + VSCode Extension
註記:此頁為由 AI(gpt-5-mini-2025-08-07)自動翻譯自英文原文,可能含有少量不準確之處。
📌 介紹
本文說明如何設定 GitHub、PicGo 與 VSCode 延伸功能,以方便將圖片上傳到 GitHub 儲存庫。說明必要的前置條件、產生 GitHub Token 的流程,以及在 VSCode 中設定 PicGo 延伸功能的重點步驟。
🚀 快速開始
開始之前
請確認您已具備以下項目:
- A Github Token with access to your repo
- A repo to store images
GitHUb
Generate GitHub Token
- Go to
Settings/Developer settings/Personal access tokens/Token (classic) - Click Generate new token (classic)
- Set a name for the token to identify it easily and choose No expiration
- Select the required scopes for the token


Set Up Repo
為確保您的圖片可被存取,請將儲存庫設定為 public。
VScode Extension
- Install PicGo extension in VScode
- Set
Pic Bed: Currentto github - Set
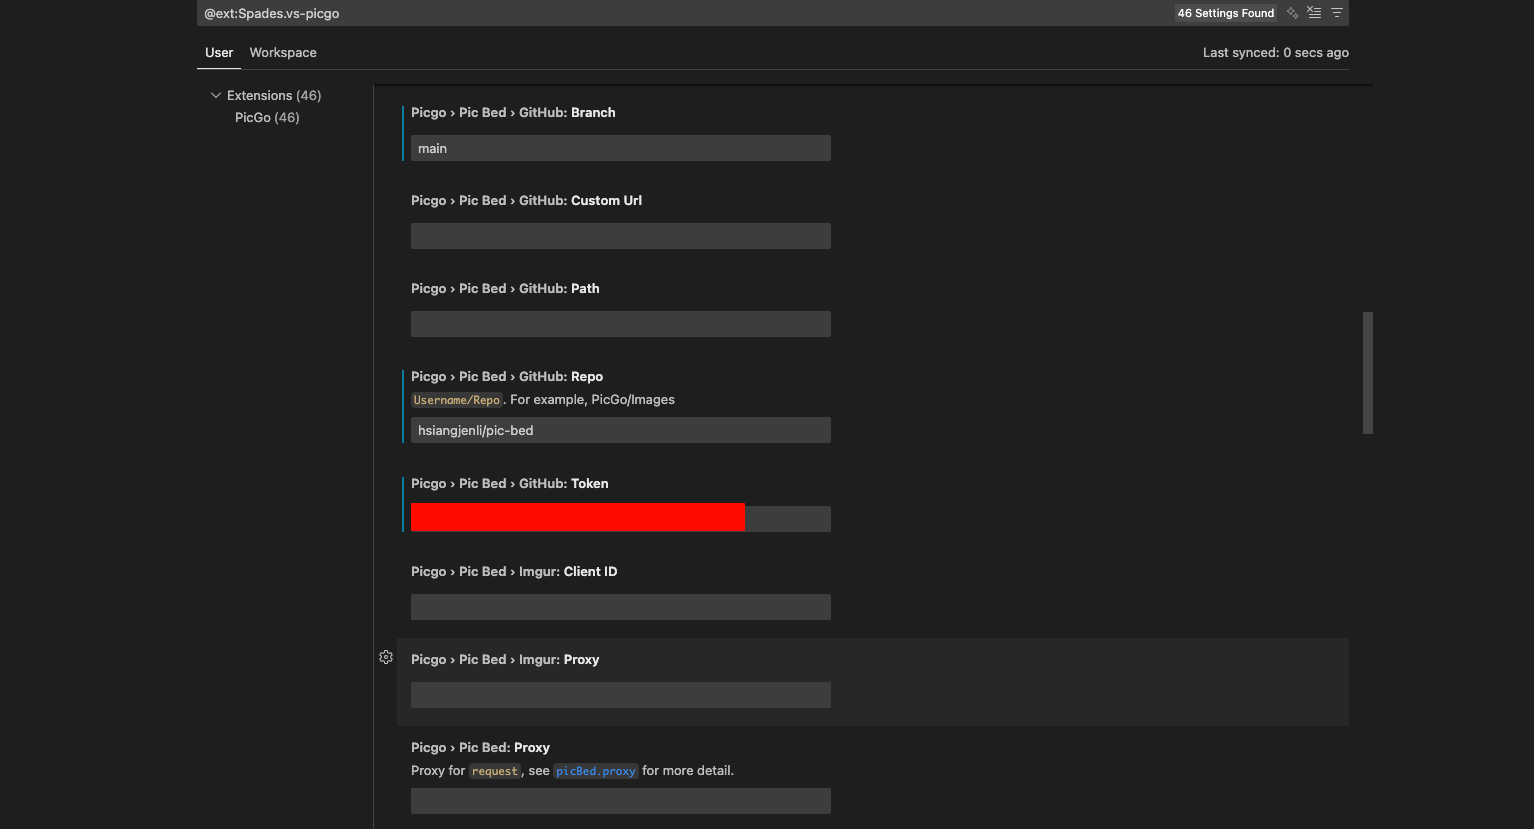
Pic Bed > Github: Repoto your previously created public repo. Format is{username}/{repo_name} - Set
Pic Bed: Uploaderto github - Set
Pic Bed > Github: Branchto the branch of your public repo - Set
Pic Bed > Github: Tokento the Github token you created earlier


Troubleshooting
If you see the following error, it means xclip is not installed:
1 | PicGo: xclip not found! Please install xclip before run picgo. |
To fix this, install xclip using the following command:
1 | sudo apt install xclip |
🔁 重點回顧
- You need a Github token and a public repository for image storage.
- Install the PicGo extension in VSCode for image uploading.
- Follow specific configuration steps in the PicGo extension to link it with GitHub.
- Potential troubleshooting includes ensuring
xclipis installed on your system.
[教學] GitHub + PicGo + VSCode Extension
https://hsiangjenli.github.io/blog/zh-TW/tutorial-github-picgo-vscode-extension/